
You Press the Button, and the Door Just Won't Finish the Job
It's dusk, you've pulled into the driveway, and you hit the remote on your way inside. The door starts down, gets about a third of the way, then stops and climbs right back up to the open position like nothing happened. Or maybe it won't even try—you press the button and absolutely nothing moves. Either way, you're standing in your driveway wondering if you're going to be propping a door open overnight.
This is one of the most common calls we get, and it's rarely random. A garage door opener is built to reverse when it thinks something is in the way, and it's built to refuse to close if a safety circuit isn't satisfied. The trick is figuring out which part of that system is actually triggering it. Here's the order a technician works through the problem.
First Check: The Photo-Eye Sensors
Every garage door opener installed in the last few decades has two small sensors mounted a few inches off the ground on either side of the track, connected by an invisible infrared beam. If that beam is broken, blocked, or even just misaligned by a fraction of an inch, the opener will refuse to close the door—or reverse it mid-close as a safety measure.
This is the first thing worth checking yourself before calling anyone, because it's often a two-minute fix. Things to look for:
- Dust or cobwebs on the lenses. During dry months, dust and even wildfire smoke residue settle on everything in the garage, including those sensor eyes. A soft cloth wipe-down solves this more often than people expect.
- Sensors knocked out of alignment. A bike leaned against the wall, a stored ladder, even a bump from parking—any of these can nudge a sensor bracket just enough to break the beam. Most sensors have a small LED that should glow solid; a blinking or dim light usually means misalignment.
- Direct sunlight hitting a sensor. Low winter sun angles can wash out the receiver, especially on west-facing garages. If the problem only happens at certain times of day, this is worth ruling out before anything else.
A technician will check alignment with a level, clean both lenses, and test the beam with a multimeter if the LED behavior is inconsistent. If a sensor wire has been pinched or chewed through, that's a simple wire replacement rather than a new sensor.
Second Check: The Opener's Close-Limit and Force Settings
If the sensors check out fine, the next thing a tech looks at is the opener's internal settings. Every opener has a close-limit setting that tells it how far to travel before it should be fully shut, and a force setting that tells it how much resistance to tolerate before assuming it's hit an obstruction.
If the close-limit is set too short, the door will stop and reverse before it ever reaches the floor, mimicking an obstruction even when there isn't one. If the force setting is too sensitive, normal friction from a slightly dry track or a stiff hinge can be enough to trigger a false reversal. These settings can drift over time, especially after a motor or logic board replacement, or after seasonal temperature swings affect how the door moves through the track. Adjusting them is usually a straightforward recalibration done at the opener unit itself.
Third Check: Tracks, Rollers, and Physical Obstructions
Next comes a visual and physical inspection of the track itself. A bent track, a roller that's worn flat on one side, or debris wedged in the track can create enough resistance that the opener's force sensor reads it as an obstruction and reverses the door. This is more common on older systems or doors that haven't had a maintenance check in a while—sand, leaves, and road dust tend to accumulate in the track over dry months and compact into a surprisingly effective jam.
A technician will run the door manually (disconnected from the opener) to feel for binding or uneven resistance, check rollers for wear, and confirm the tracks are still square to the frame.
Fourth Check: Springs and Cable Tension
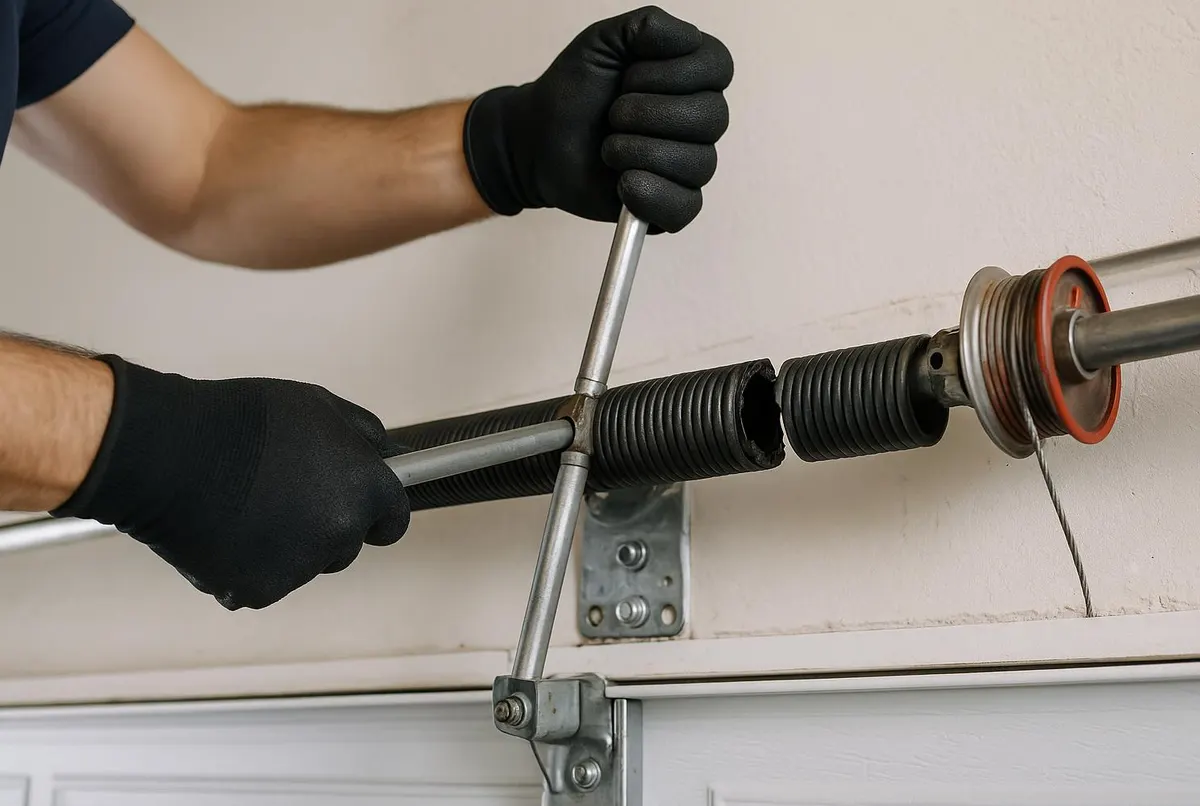
If the door is heavy to lift by hand, or if it reverses consistently at the same point every time regardless of sensor and limit adjustments, worn torsion springs are often the real culprit. Springs lose tension gradually, and once they can no longer properly counterbalance the door's weight, the opener has to work harder to pull it down—which it may interpret as resistance and reverse accordingly. Spring replacement isn't a DIY repair; it involves high tension components that require the right tools and experience to handle safely.
Fifth Check: Wiring and the Logic Board
If none of the above explains it, the issue may be electrical—frayed wiring between the sensors and the opener unit, corrosion at a connection point (more common near the coast where salt air gets into everything over time), or a failing logic board inside the opener itself. This is usually the last thing checked because it's the least common cause, but it does happen, especially on units that are a decade or older.
When to Call Lompoc Garage Door Service
If you've wiped the sensors, checked for obvious obstructions, and the door is still reversing or refusing to close, it's time to call in a technician rather than keep guessing. We handle this exact troubleshooting sequence as part of our standard Garage Door Repair visits, and if the root cause turns out to be worn springs or cables, we can take care of Spring Replacement on the same visit so you're not dealing with a door that's both unreliable and unsafe to operate.
A door that won't close reliably is a security issue, not just an inconvenience—especially heading into the rainy season when an open garage means water, wind, and debris getting into your stored belongings. Give Lompoc Garage Door Service a call and we'll get your door closing the way it's supposed to, every time.